Craving a café-style cappuccino or a velvety latte at home? Frothing milk to perfection is the secret to achieving that creamy, luxurious texture. With the Sipologie Electric Milk Frother, creating rich foam is easier than ever. This guide walks you through the simple steps to get barista-quality results at home.
Cold Milk vs. Hot Milk : Which one does froth better?
The debate between frothing cold vs. hot milk often revolves around the type of foam and texture achieved. Here’s a quick comparison to help you understand the difference:
Cold Milk Froth:
- Cold milk tends to create lighter, airy foam that is less dense and more bubbly.
- Best suited for cold brews, iced lattes, and refreshing summer drinks.
- Frothing cold milk works best with non-dairy alternatives like almond and oat milk, which froth well when chilled.
Hot Milk Froth :
- Heating milk before frothing results in a denser, creamier foam with a velvety texture.
- Ideal for lattes, cappuccinos, and macchiatos, where a thicker, more stable foam is desired.
- Whole milk froths best when heated, due to its higher fat content, creating rich and smooth microfoam.
Pro Tip: If you prefer frothy cold drinks, opt for chilled milk with your frother. However, for rich, café-style hot drinks, always froth heated milk for superior texture and flavor.

Cold milk frothing guide :
Here's a step-by-step guide for the ones who like light, airy, and bubbly foam in their cold brews :
Step 1: Choose the right milk
-
Dairy Milk: Whole milk froths best for a creamier foam, but low-fat and skim milk create lighter, airier foam.
-
Non-Dairy Milk: Almond, oat, soy, and coconut milk froth well when chilled. For the best results, opt for barista-grade plant-based milk that is specifically formulated to froth better.
-
Pro Tip: Chilled milk froths best when it’s cold (around 4°C or 40°F). Avoid using room temperature milk, as it won’t create a stable foam.
Step 2: Chill the Frothing Container and Frother
- For an extra fluffy and airy cold foam, place your frothing container (glass or stainless steel) in the fridge or freezer for 5-10 minutes before use.
- Pro Tip: A chilled frothing container helps maintain the cold temperature of the milk, allowing for better foam consistency.
Step 3: Add Cold Milk to the Container
-
Pour the desired amount of cold milk into your chilled frothing container.
-
Fill only about 1/3 of the container to leave enough space for the milk to expand during frothing.
Step 4: Froth the Milk
-
Submerge the frother just below the surface of the milk to incorporate air initially.
-
Move the frother gently up and down, ensuring the milk gets aerated and begins to create a light, bubbly foam.
-
Continue frothing for 20-30 seconds or until you achieve the desired consistency
-
Pro Tip: For a creamier texture, froth the milk slightly longer to create microfoam with smaller, more stable bubbles.
Step 5: Top Your Cold Brew or Iced Latte
-
After frothing, let the foam rest for a few seconds to allow the lighter bubbles to rise and create a more defined layer of cold foam.
-
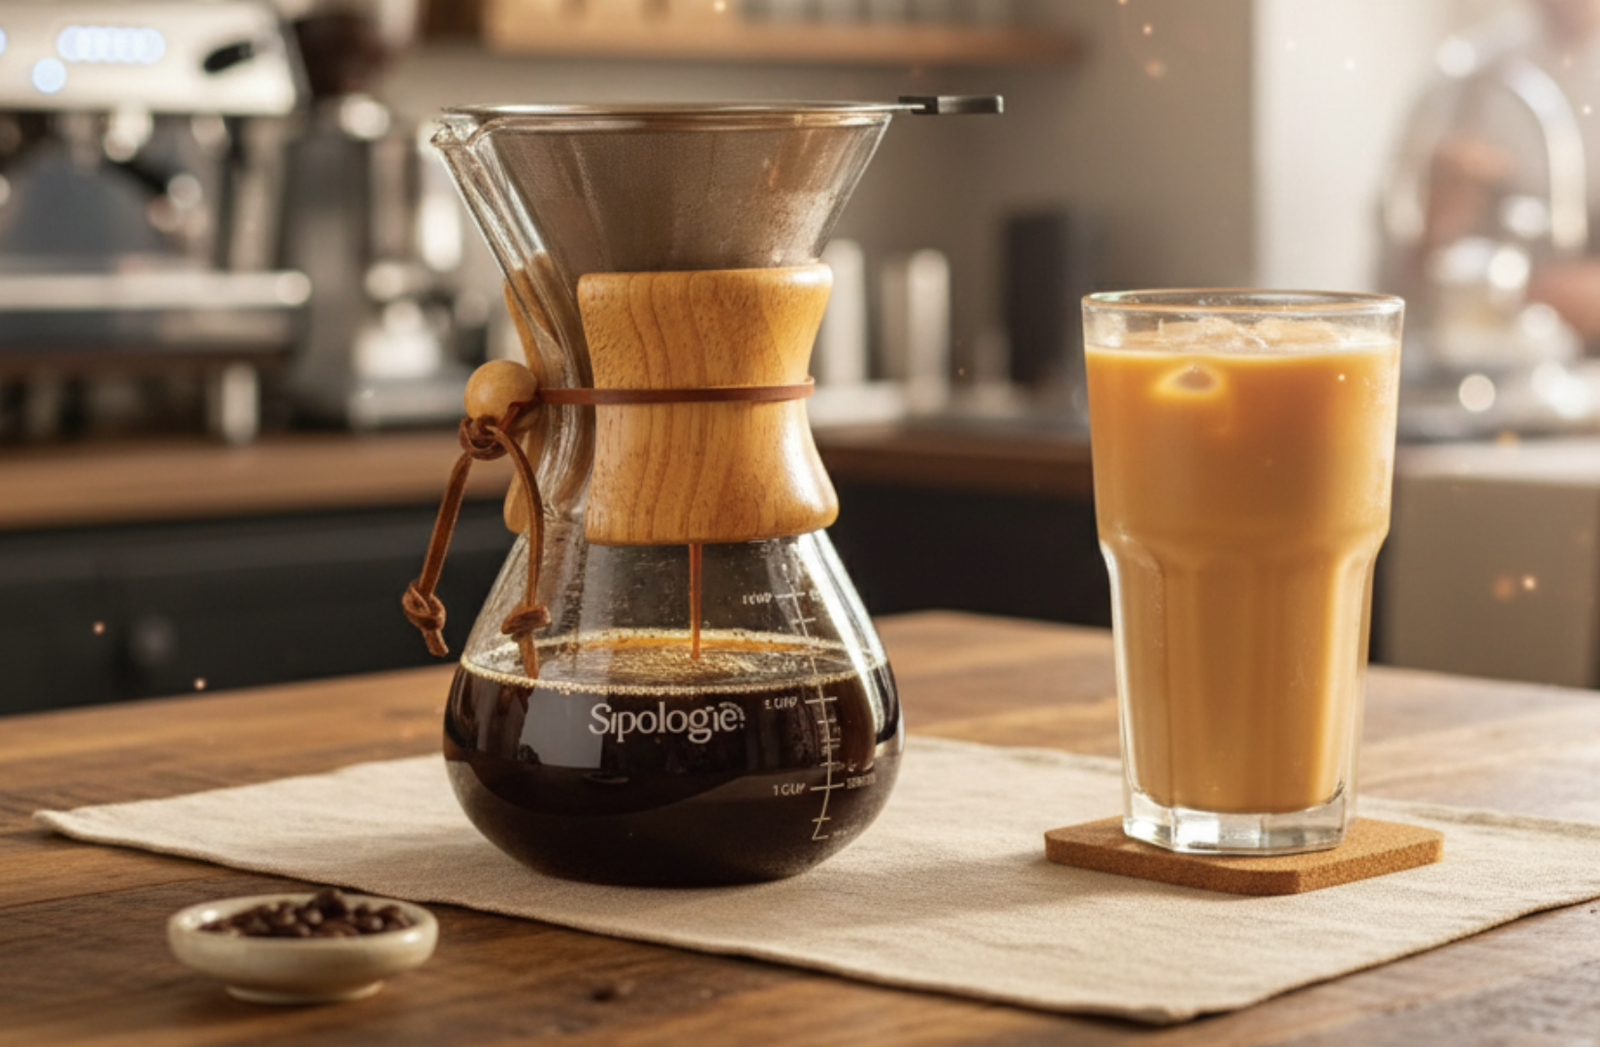
Gently spoon the cold foam over your cold brew, iced coffee, or iced latte.
-
For a visually appealing layered effect, pour the foam slowly over the back of a spoon.
-
Pro tip : For a denser foam, swirl the container gently to integrate the foam with the milk before pouring.

Hot milk frothing guide :
Here's a step-by-step guide for the ones who want a perfect cup of coffee, complete with smooth steamed milk and luscious foam :
Step 1: Heat the Milk to the Ideal Temperature
Begin by pouring your desired amount of milk into a small pot or a microwave-safe container. To create the perfect froth, heat the milk to 150°F (65°C), which is ideal for achieving smooth, velvety foam.
-
Stovetop Method: Warm the milk over low heat, stirring occasionally to prevent scorching.
-
Microwave Method: Heat the milk in 20-30 second intervals, stirring between bursts to ensure even heating.
-
Pro Tip: If you don’t have a thermometer, aim for milk that feels warm to the touch but not scalding. Heating milk beyond 160°F can destroy the proteins, leading to a burnt taste and weak foam.
Step 2: Froth the Milk Using Frother
Once your milk is warm, it’s time to froth! Using the Sipologie Milk Frother guarantees consistent, silky results with minimal effort.
-
Insert the frother into the warmed milk.
-
Move it gently up and down to incorporate air, allowing the milk to expand and develop a smooth, foamy texture.
-
Continue frothing for 20-30 seconds until a velvety foam layer forms on top, giving your milk the ideal consistency for lattes, cappuccinos, and other creamy beverages.
-
Pro Tip: For cold milk, follow the same process but skip the heating step to achieve light, airy cold foam perfect for iced lattes.

Step 3: Separate Steamed Milk from Foam for Perfect Layering
After frothing, allow the milk to sit for a few seconds to naturally separate into two distinct layers. The steamed milk, which is thicker and creamier, settles at the bottom, while the foam forms a light, airy layer that floats on top. This separation helps create the perfect balance of texture and flavor in your drink.
-
Pour the steamed milk into your cup, filling about one-third of the cup.
-
Then, using a spoon, gently add the foam on top, ensuring it covers an additional one-third of your drink.
-
This technique gives your beverage a smooth, velvety finish, just like your favorite café-style latte or cappuccino.
-
Pro Tip: Swirl the milk gently before pouring to blend the steamed milk and foam evenly.
Step 4: Create Your Favorite Café-Style Drinks
With the Sipologie Frother, you can easily recreate your favorite café-style drinks at home.
-
Latte: Add more steamed milk with just a thin layer of foam for a smooth and creamy texture.
-
Cappuccino: Balance equal parts of steamed milk and foam to create a rich, frothy delight.
-
Macchiato: Top your espresso with just a dollop of foam to enjoy a bold, intense flavor.
Whether you enjoy a light latte or a dense cappuccino, mastering these simple techniques allows you to indulge in your go-to beverage anytime, right in the comfort of your home.
Additional Tips for Better Frothing Results :
-
Choose the Right Milk: Whole milk delivers the creamiest foam, while almond, oat, and soy milk create slightly lighter, airy textures.
-
Clean Immediately: To maintain your frother’s performance and ensure longevity, always rinse it immediately after each use.
With these steps, you can effortlessly create barista-style cold foam at home and impress yourself and your guests with professional-quality iced beverages!


