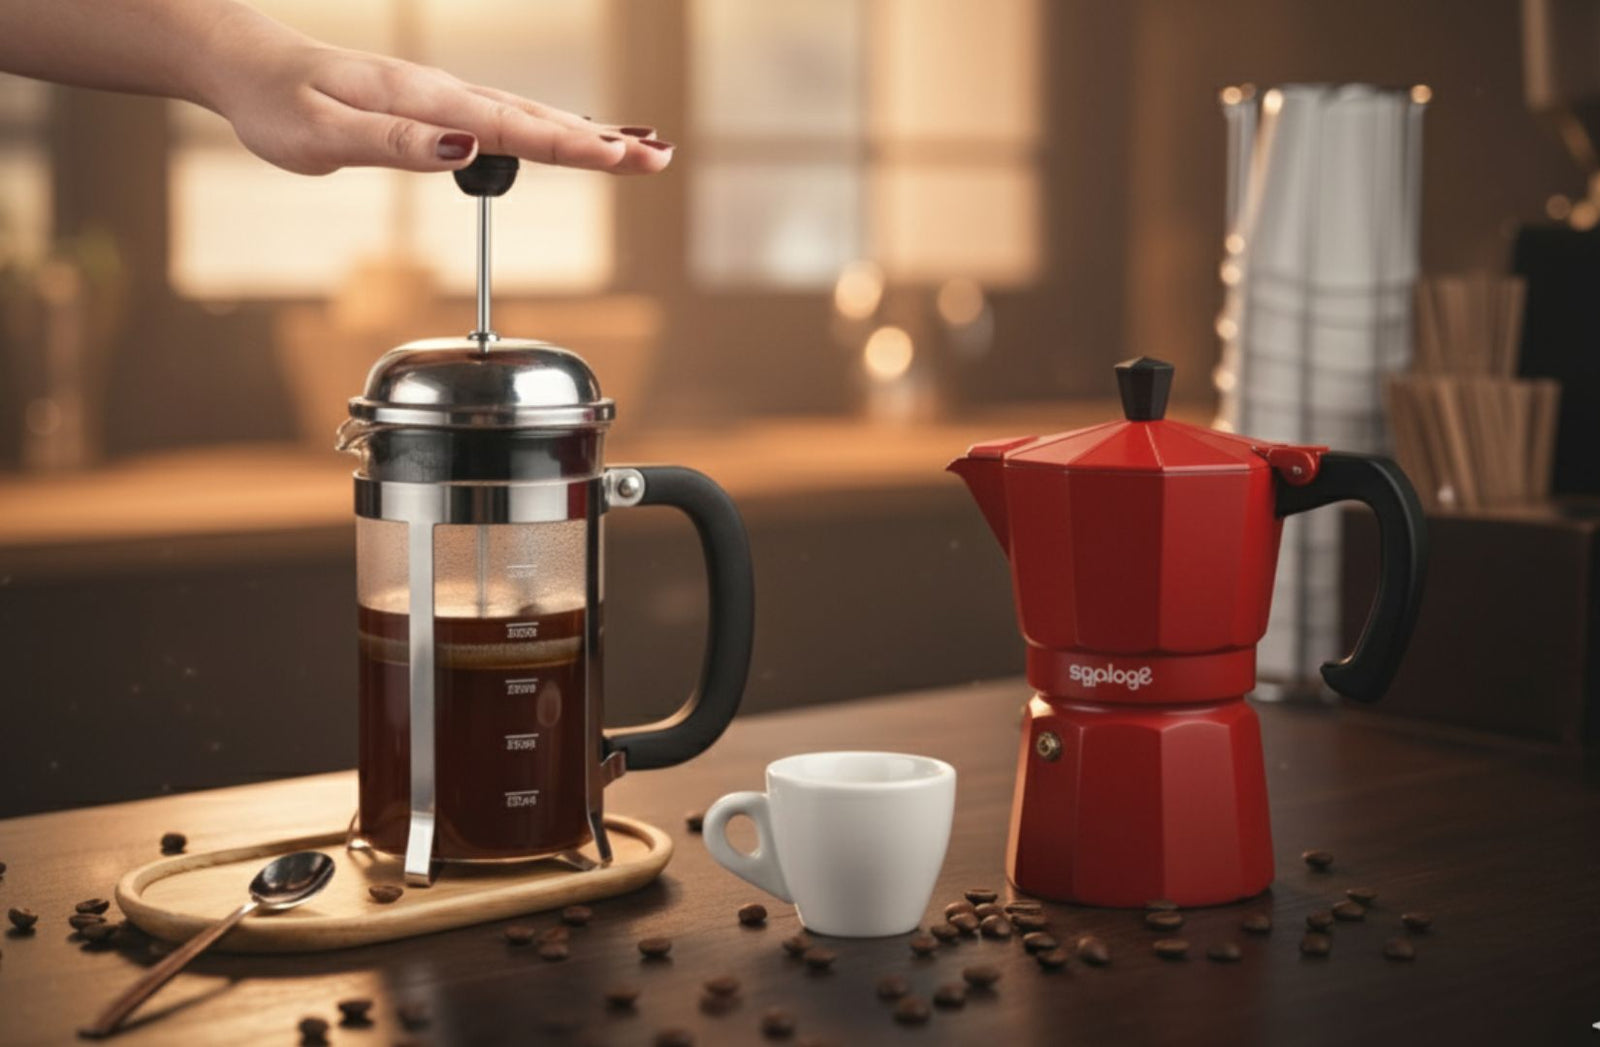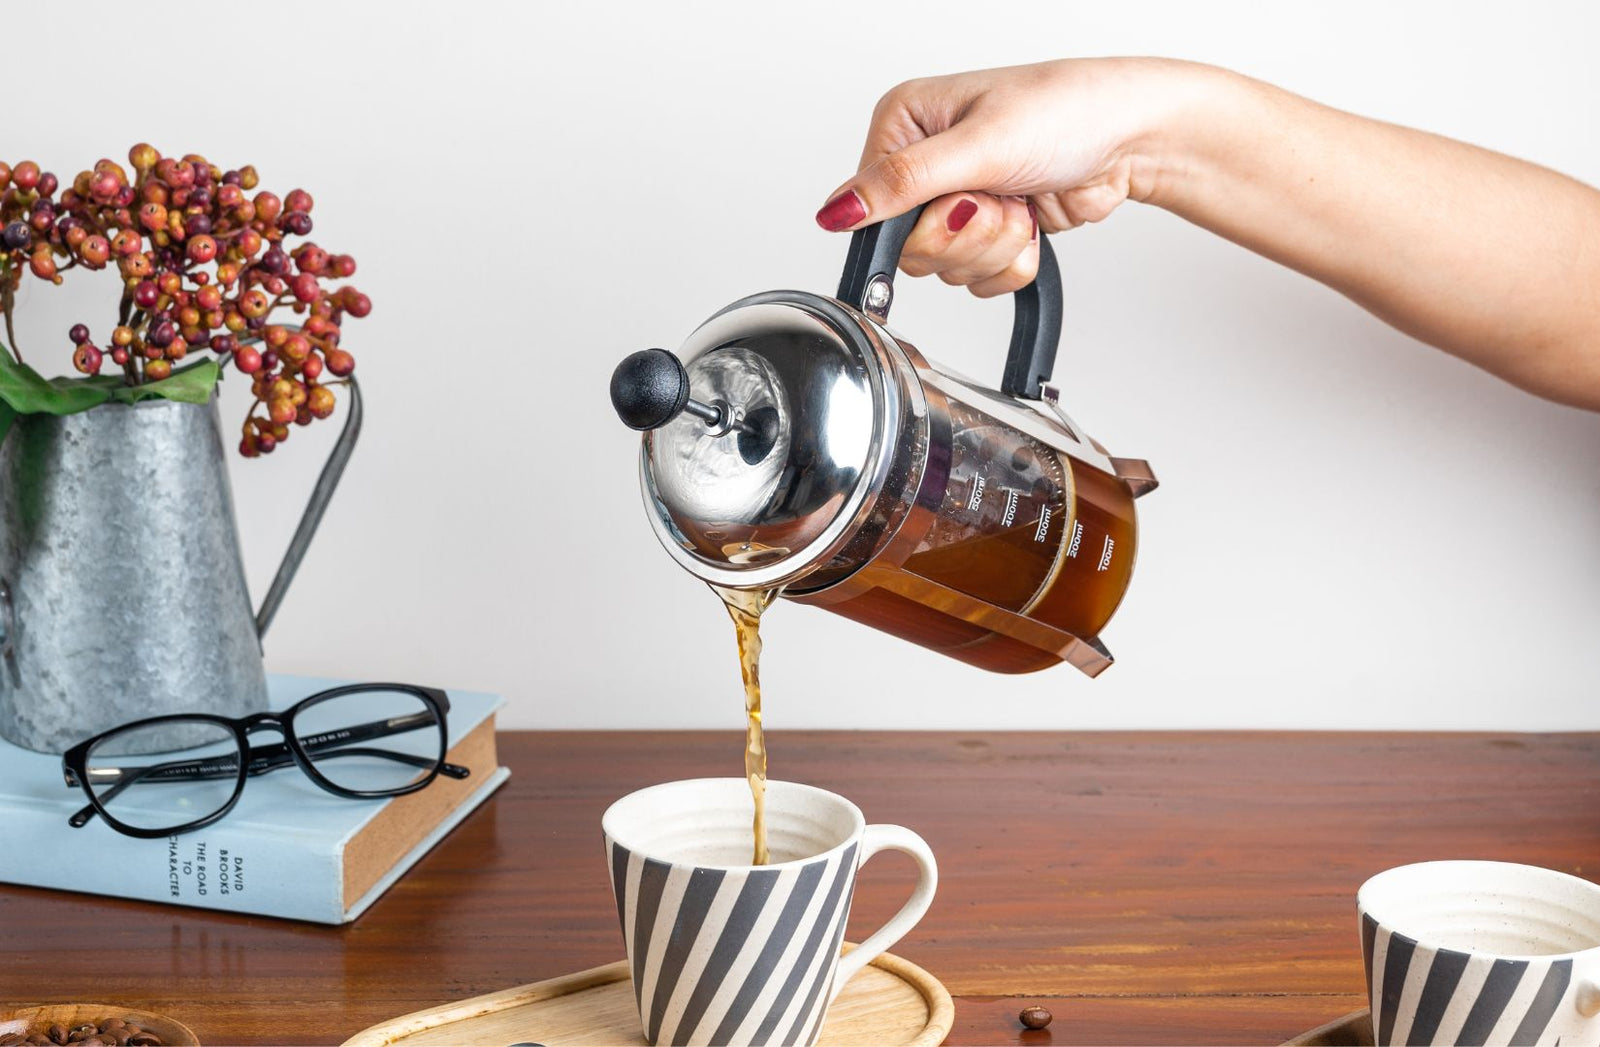
Discover the Perfect Brew: Moka Pot vs. French Press The brewing method you use can make all the difference in the taste and quality of your coffee. Two popular brewing methods are the Moka Pot and the French Press. While both methods produce delicious coffee, they have unique characteristics that cater to different preferences. In this blog, we'll explore the differences between Moka pot coffee and French press coffee and help you decide which one is right for you. Moka Pot Coffee The Moka pot, also known as a stovetop espresso maker, is a traditional and popular brewing method, especially in Europe. This small and portable pot brews coffee by passing boiling water through ground coffee beans. The resulting brew is a strong and concentrated espresso, perfect for those who love their coffee with a kick. Advantages: Strong and Full-Bodied Coffee: Produces a rich and aromatic coffee with a robust flavor. Affordable Alternative: Cheaper than investing in an expensive espresso machine. Portability: Easy to carry, making it suitable for travel. Considerations: Skill Required: The brewing process requires some practice to achieve the perfect consistency and flavour. Limited Capacity: Typically brews 2-3 cups, which may not be sufficient for larger groups. Intensity: The brew can be too strong for some tastes. Explore our range of Moka Pots here. French Press Coffee The French press, also known as a coffee press, or cafetiere, is a classic brewing method that produces a full-bodied and flavourful coffee. It consists of a glass carafe, a plunger with a filter, and a lid. The coffee is brewed by steeping coarsely ground coffee beans in hot water for a few minutes and then pressing the plunger down to separate the coffee from the grounds. Advantages: Rich and Full-Bodied Coffee: Delivers a balanced, smooth cup with more natural oils and sediments. Ease of Use: Simple brewing process that doesn’t require paper filters. Larger Capacity: Suitable for brewing multiple cups, ideal for serving a group. Considerations: Sediment: Can sometimes produce coffee with a bit of grit or sludge. Portability: Less convenient for travel compared to the Moka pot. Discover our French Press here. Moka Pot vs. French Press: Which One is Better for You? When it comes down to it, the choice between Moka pot coffee and French press coffee depends on personal preference. Here are some pointers to help you decide: For Espresso Lovers: If you enjoy a strong, espresso-like coffee that’s perfect for making cappuccinos, go with the Moka pot. Keep in mind that mastering the brewing process may take some practice. For Full-Bodied Coffee Fans: If you prefer a rich, full-bodied coffee without the intensity of espresso, the French press is your best bet. It's easy to use and great for serving multiple people. Conclusion Both the Moka pot and French press are excellent options for coffee lovers who want a rich and flavourful cup of coffee. Whichever method you choose, make sure to use high-quality coffee beans and experiment with different ratios and brew times to find your perfect cup. Check out our diverse Coffee Ware Collection here. Join the Sipologie community and elevate your coffee experience today!
Blog posts
Discover the difference between cappuccinos and café lattes! Learn about their unique flavors, textures, and find out which one suits your taste best. ☕✨
Read more
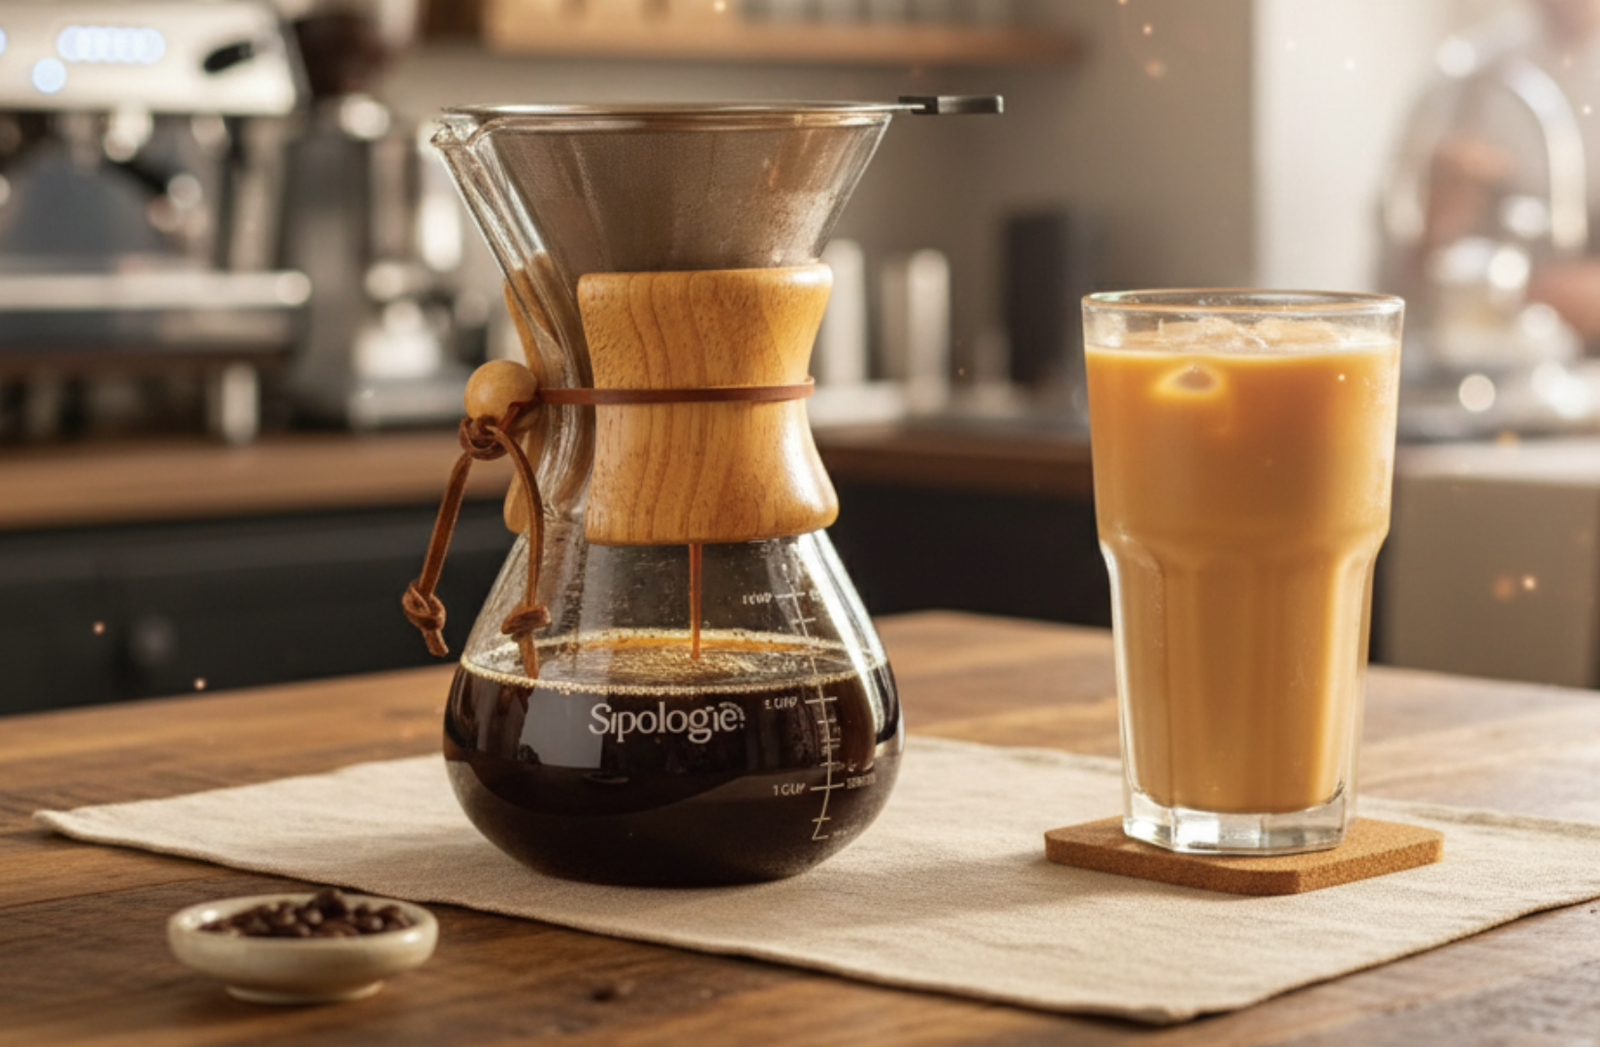
Coffee Lovers! Pour-over coffee is all about precision and patience. It's a hands-on brewing technique that allows you to control every aspect of the process, from the temperature of the water to the speed of the pour. The result? A clean, aromatic cup of coffee that's bursting with flavour. Our pour-over is designed with you in mind. Crafted from high-quality materials, it's not only beautiful but also incredibly durable. Plus, its user-friendly design makes it perfect for both beginners and seasoned coffee aficionados. Getting Started Don't worry if you're new to pour-over. We've got you covered with easy-to-follow instructions and tips to ensure your first brew is a success: Step 1: Heat Your Water Bring water to just below boiling temperature (around 95°C), which is ideal for extracting the full flavor of the coffee without scalding it. Step 2: Prepare Your Coffee Place your steel filter in the pour-over brewer. Add one heaped tablespoon (approx. 15g) of medium-fine ground coffee for every 250ml of water. Step 3: Wet the Grounds Pour a small amount of hot water over the grounds to pre-wet them. This allows the coffee to 'bloom' and release gases, ensuring a smoother flavour. Wait 30 seconds before proceeding to the next step. Step 4: Brew Your Coffee and enjoy! Pour the rest of the water slowly over the coffee in a circular motion, ensuring all grounds are saturated. Use the Measurement Markings to monitor the amount of coffee brewed and stop at the desired amount. Experience the joy of sipping the perfect cup of coffee.
Read more
When it comes to extracting that liquid gold from coffee beans, immersion and percolation stand out as two distinctive techniques. Beyond the flavours they yield, the brewing process and the equipment used contribute significantly to the final cup. Immersion Brewing: A Sublime SoakImagine a cozy soak in a hot tub; that’s immersion brewing. This method involves coffee grounds steeping in hot water for an extended period, allowing flavours to gracefully intertwine and craft a profoundly rich brew. Popular equipment like the French press or cold brew setups exemplify immersion brewing, where coffee grounds are immersed in water for several minutes, akin to creating a coffee jacuzzi of flavours. Percolation: A Rhythmic DanceOn the contrary, percolation mirrors a pulsating dance. Water, compelled through the coffee grounds, extracts flavours as it descends. Drip coffee makers and espresso machines employ percolation, featuring a more dynamic process where water passes through the grounds swiftly, reminiscent of a lively, caffeinated waterfall.Immersion Brewing Flavours: Full-Bodied Richness: Immersion brewing tends to create a fuller, more rounded flavour profile. Because the coffee grounds steep in water for an extended period, they have more time to release oils, compounds, and flavours. This often results in a brew with a richer mouthfeel and a more intense, robust taste. Complexity and Depth: The prolonged contact between water and grounds during immersion brewing allows for a nuanced extraction of flavours. This method often highlights a broader spectrum of taste notes, offering complexities that can range from chocolatey and nutty undertones to fruity or floral accents, depending on the coffee beans used. Percolation Brewing Flavours: Clarity and Brightness: Percolation brewing tends to produce a cleaner, crisper cup of coffee. The water passing through the grounds swiftly extracts flavours, often resulting in a beverage that’s lighter on the palate. The clarity in taste allows for more distinct and individual flavour notes to shine through. Distinctive Acidity: Percolation methods often accentuate the coffee’s natural acidity. This doesn’t necessarily mean a sour taste, but rather a lively, bright characteristic that enhances specific flavour elements. It can manifest as a citrusy tang or a vibrant, refreshing quality in the brewed coffee. In essence, the immersion method typically delivers a heavier, more robust brew with a broader range of flavours, while percolation tends to offer a cleaner, brighter cup that showcases distinct taste notes. Preferences often come down to whether one enjoys a richer, more layered experience (immersion) or prefers a cleaner, more defined taste (percolation). Both methods provide diverse and delightful coffee experiences, appealing to different palates and moods.
Read more
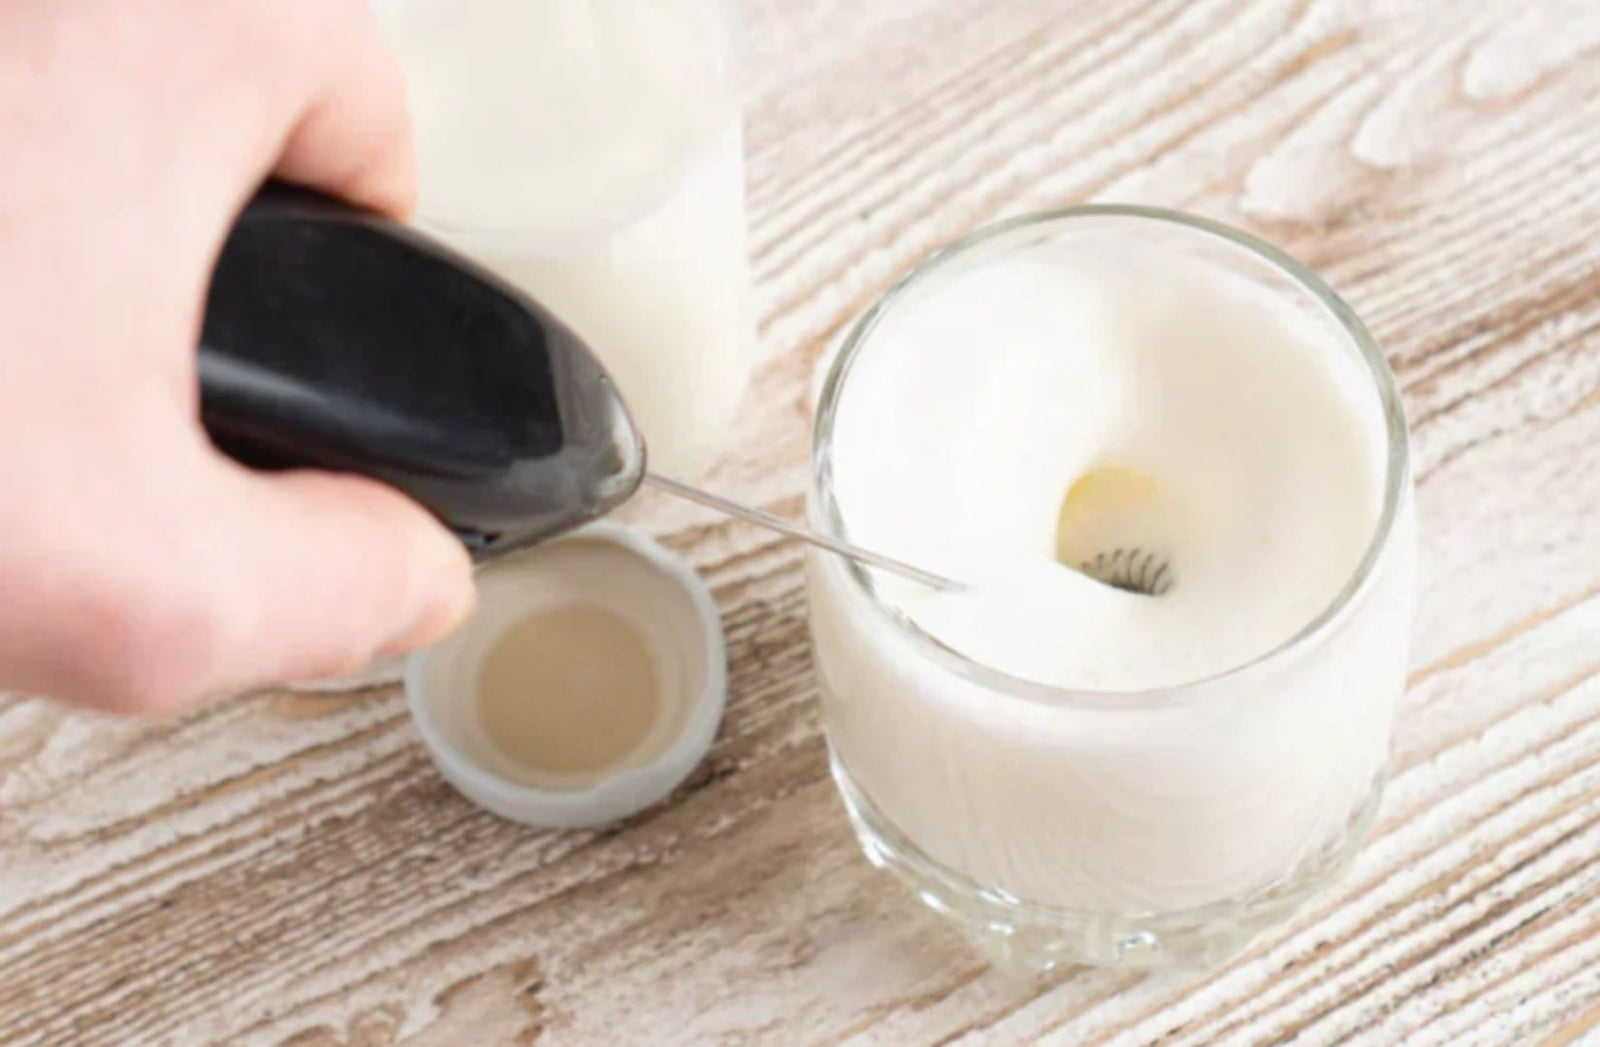
Step-by-Step Guide for Getting Steamed Milk and Foam Warm the Milk Pour your milk into a small pot or microwave-safe container. Heat it to around 150°F (65°C). This is warm enough for steaming without boiling. You can do this on the stove over low heat or in the microwave in short bursts. Tip: If you don’t have a thermometer, you’re aiming for milk that’s hot to the touch but not scalding. Froth the Warmed Milk Once the milk is warm, use your milk frother to create both steamed milk and foam. When you froth, you’ll notice the milk starts to expand and create bubbles, forming both liquid steamed milk and a layer of foam on top. How to froth: Move the frother up and down slightly as you froth to incorporate air and create a foamy texture on top. Separate the Steamed Milk from the Foam After frothing, let the milk sit for a few seconds. You’ll see that it separates naturally into a thicker, liquid milk layer (steamed milk) on the bottom and foam on the top. Pour carefully: First, pour the liquid steamed milk into your coffee until it fills about 1/3 of your cup. Add foam: Spoon the foam on top of your drink to complete your cappuccino. This foam should make up about 1/3 of your drink as well.
Read more
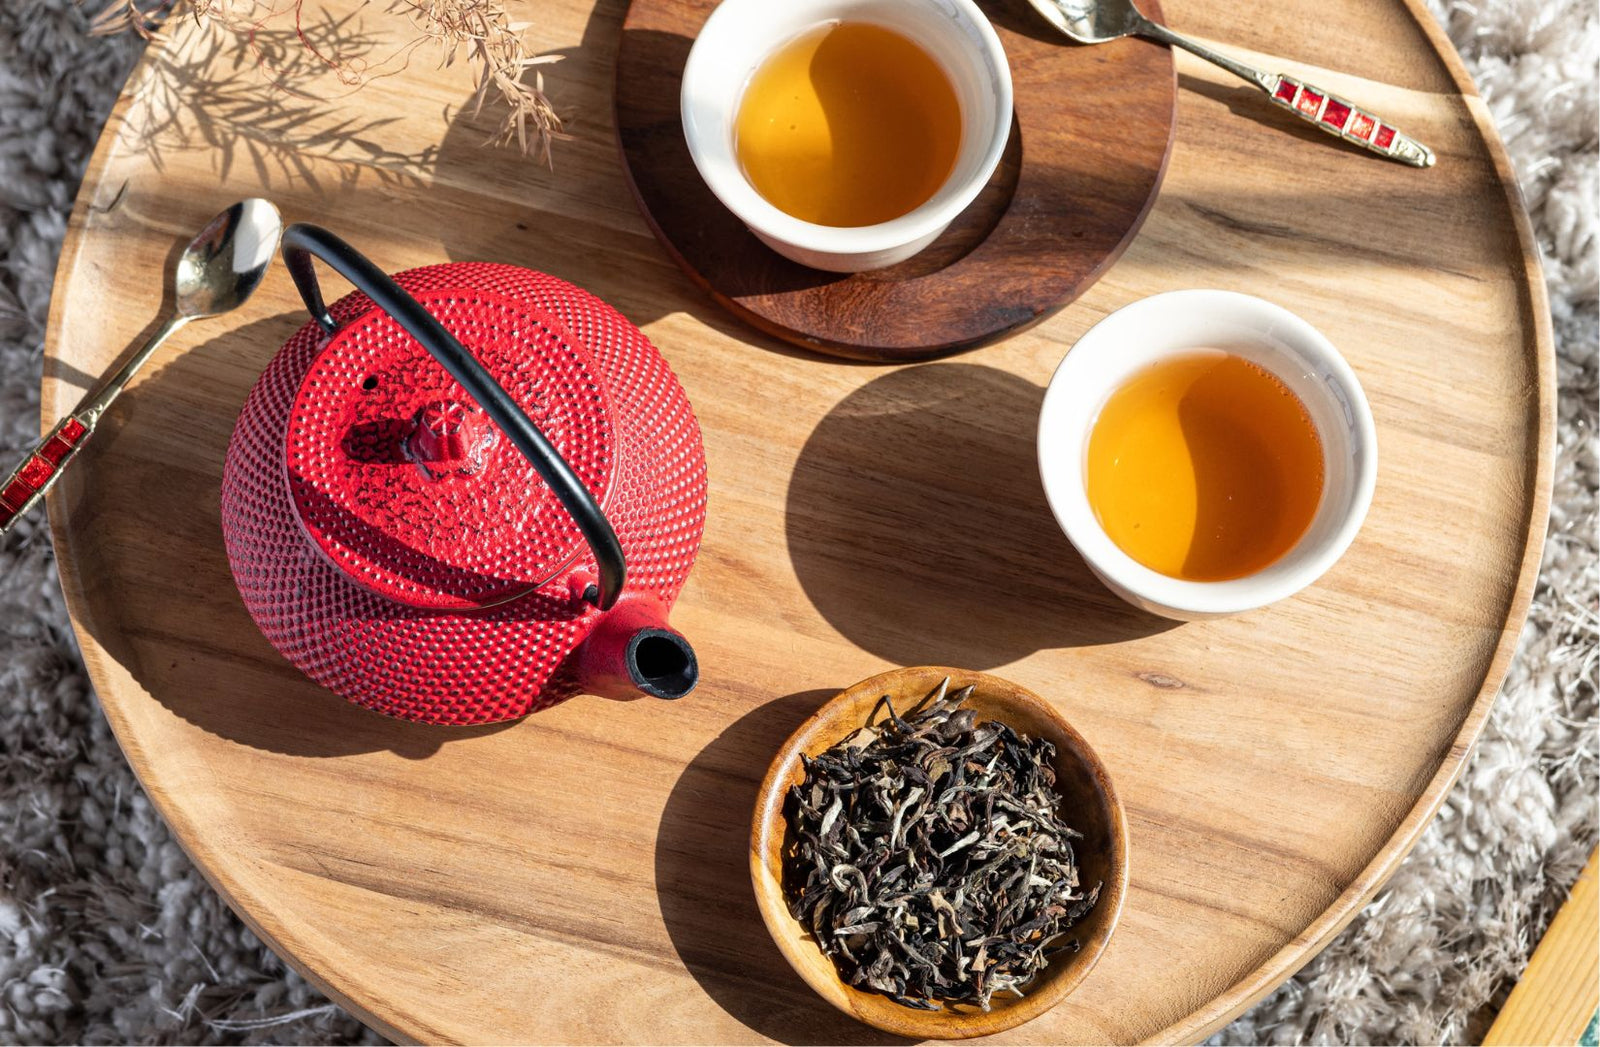
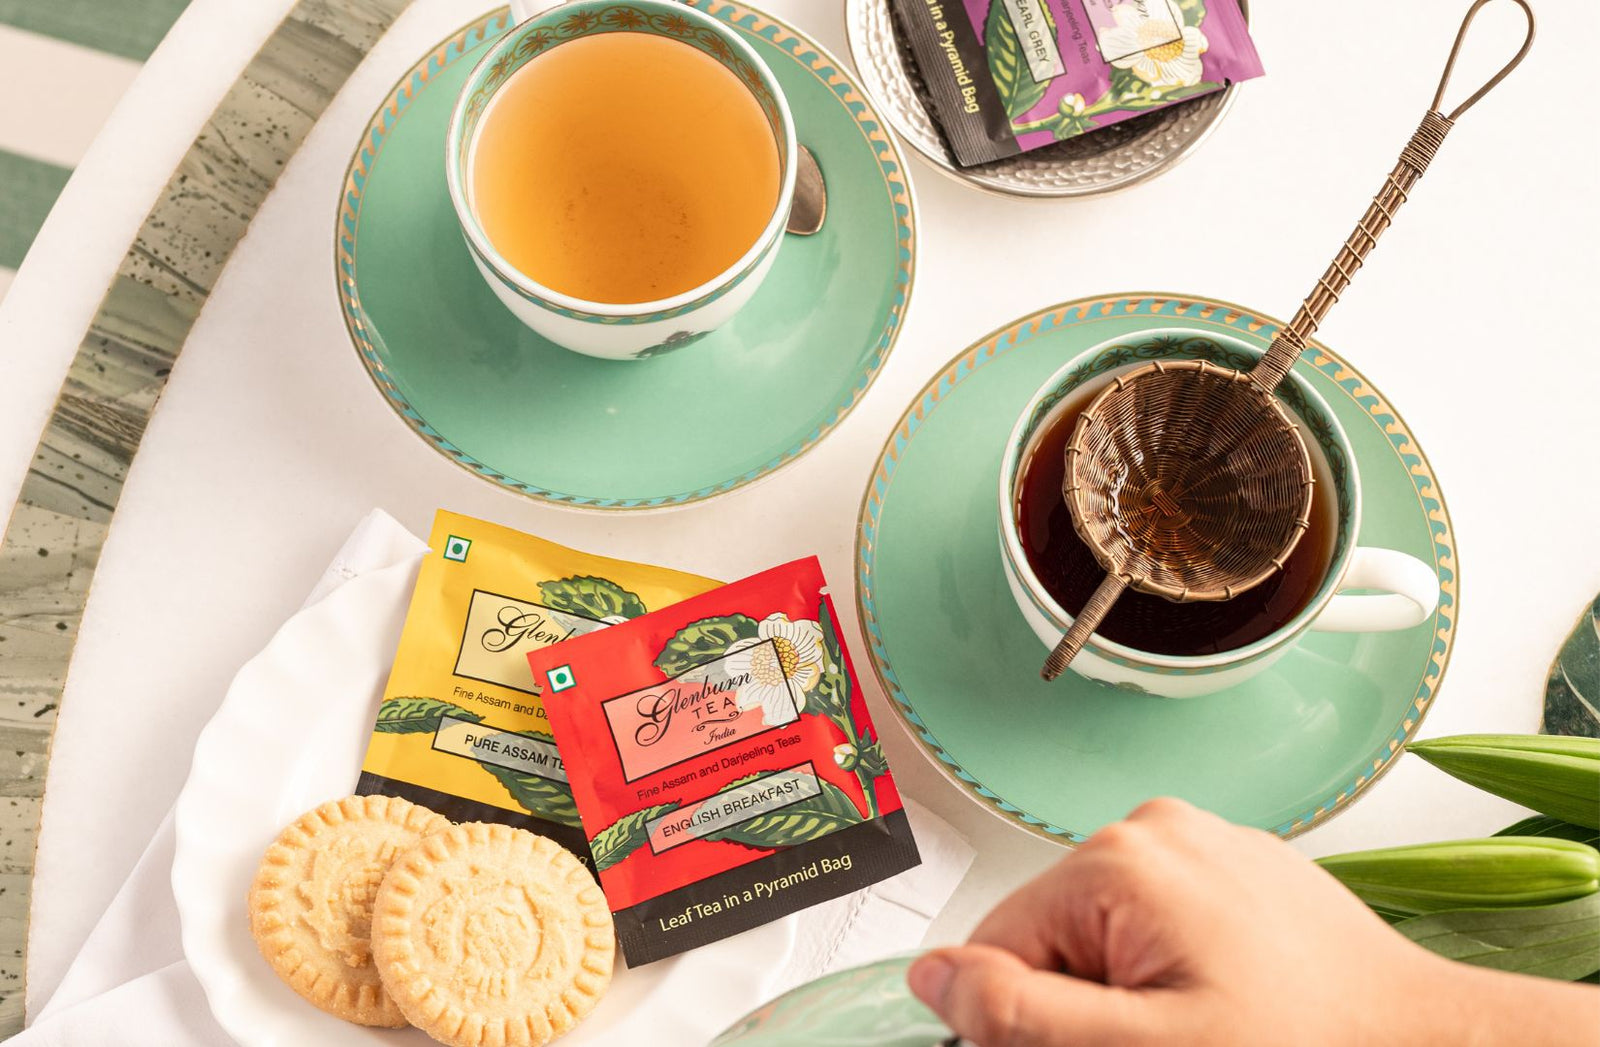
Tea is more than just a beverage; it's a ritual, a moment of solace, and a comforting companion during various seasons of life. For tea enthusiasts, the choice between loose leaf tea and tea bags is a constant debate. Both options have their unique charm, but they offer distinct experiences in terms of flavor, quality, and sustainability. In this blog post, we'll explore the pros and cons of both loose leaf tea and tea bags to help you decide which is best for you. The Art of Loose Leaf Tea Flavor and Aroma: Loose leaf tea is celebrated for its superior taste and aroma. The leaves are whole or in large pieces, which allow them to retain their essential oils, natural flavors, and fragrance. This means you get a more robust, complex, and authentic tea experience. Customization: Loose leaf tea offers an incredible range of options. You can mix and match different tea varieties to create your unique blends, adjusting the quantity and steeping time according to your preferences. Quality and Freshness: Loose leaf tea is often considered the epitome of tea quality. It's typically sourced from premium tea gardens, and the leaves are fresher as they have more space to expand during brewing. Sustainability: Loose leaf tea is generally more sustainable than tea bags, as it generates less waste. You can use reusable tea infusers or steep the leaves directly in your teapot or mug, reducing the environmental impact. The Convenience of Tea Bags Ease of Use: Tea bags are incredibly convenient. They come pre-measured and are easy to store, making them ideal for busy mornings or office environments. Less Mess: Tea bags are neater and more practical. You don't need to deal with strainers or infusers, and there's no need to clean up loose leaves after brewing. Portability: Tea bags are perfect for on-the-go situations. They're compact and don't require additional equipment, making them a preferred choice for travel. Consistency: Tea bags offer a consistent flavor profile with each use. This can be reassuring if you want a predictable taste every time. Choosing the Right Option for You The choice between loose leaf tea and tea bags ultimately depends on your preferences, lifestyle, and priorities. Here are some considerations to help you decide: Flavor Enthusiast: If you're passionate about exploring the complex flavors of tea and enjoy the process of brewing, loose leaf tea is the way to go. Convenience Seeker: If you value simplicity and ease of use, tea bags may be a better fit, especially for quick and consistent tea fixes. Environmental Consciousness: If sustainability is a priority, loose leaf tea and reusable infusers or teapots are more eco-friendly options. Travel and Office: For those who are frequently on the go or require a fuss-free tea solution at work, tea bags provide practicality and portability. In Conclusion Tea is a personal experience, and there's no one-size-fits-all answer to the question of loose leaf tea or tea bags. Both options have their merits, and your choice should align with your personal preferences and lifestyle. Whether you're sipping a delicate oolong from loose leaves or enjoying the convenience of a tea bag, the most important thing is to savor the moment and the delightful flavors that tea has to offer. So, go ahead, brew your perfect cup, and let the soothing warmth of tea accompany you on your journey through life.
Read more
Creating a cappuccino with a Moka pot and Milk Frother can give you that rich, bold espresso base and velvety foam without needing a full espresso machine setup. Here’s how you can perfect your Moka Pot Cappuccino: 1. Brew Your Coffee Use your Moka pot to brew a rich, bold coffee that forms the perfect base for a cappuccino. If you’re new to using a Moka pot, check out our brew guide to make the best coffee possible. 2. Froth the MilkFrothing the milk is key to a great cappuccino. Here’s how to do it: Warm the Milk: Heat your milk until it’s steamy but not boiling (around 150°F or 65°C). If the milk is too hot, it can lose its smooth, creamy texture. Froth: Use a milk frother or whisk to create a mix of steamed milk and foam. Aim for a ratio of about 2/3 steamed milk to 1/3 foam for a balanced cappuccino texture. For an extra creamy foam, tilt your frother slightly as you froth to allow more air in. 3. Combine the Coffee and Frothed MilkNow that your coffee and frothed milk are ready, it’s time to bring them together. Ratio: The classic cappuccino has a 1:1:1 ratio of coffee, steamed milk, and foam. Pour: First, pour your Moka pot coffee into the cup, filling about 1/3 of the cup. Add Steamed Milk: Gently pour the steamed milk over the coffee, filling the next 1/3. Top with Foam: Finally, use a spoon to add a layer of the milk foam on top, creating that iconic, velvety cap. Optional: Sprinkle a little cocoa powder or cinnamon on top for a finishing touch. Sip and enjoy the rich, aromatic layers of your homemade cappuccino!
Read more
Enjoy your French Press Coffee like never before by exploring the key elements that contribute to a perfect brew.
Read more
Ready to make the perfect iced coffee? Check out our video and see how simple it is to create a refreshing, delicious iced coffee
Read more
The shape, size, and design of a beer glass can significantly impact the aroma, flavor, and overall drinking experience. In this blog post, we'll explore four essential beer glass types - hefeweizen, craft IPA, imperial pint, and the Teku glass - and uncover why each one is uniquely suited to enhance your favorite brews.
Read more
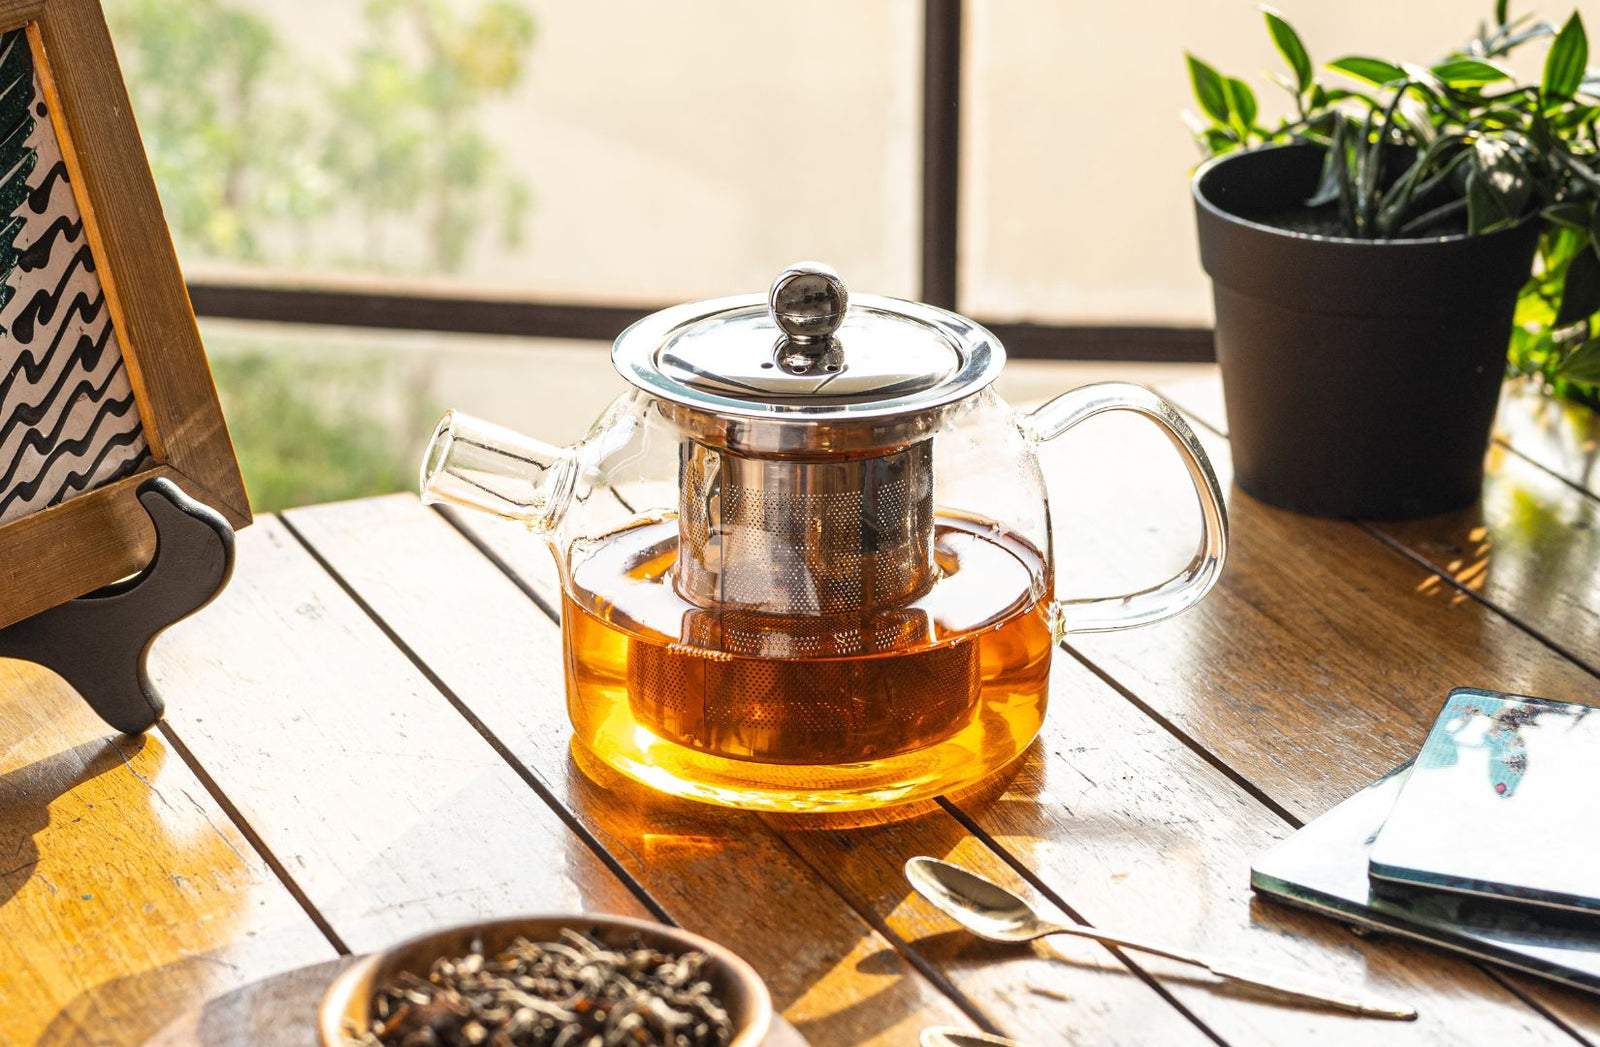
Understanding how to extract the right taste and strength is an art, and it's all about finding the right balance between the amount of tea, water temperature, and brewing time. Here's some tips to enhance your brewing experience: Freshness of Tea The key to a flavourful cup starts with fresh leaves that have been protected from moisture. Look to buy Garden-Fresh tea and store your tea in a cool, dark place to preserve its freshness and flavour profile. Tea : Water Ratio As a general rule, use one teaspoon of tea ~2g for every 200ml of water. Adjust to your taste preferences for a stronger or lighter brew. Water Temperature Different teas require different temperatures to unlock their full potential. A higher temperature is better for extracting bold flavors, while a lower temperature preserves delicate nuances. We suggest: Black Tea: 90-100°C White Tea: 75-85°C Green, Herbal, Oolong Tea: 85-95°C Brewing Time Experiment to find your perfect brewing time. The brewing time affects the strength of the tea; when over-brewed the tea flavour can be masked by bitterness and under-brewed, the flavour is not fully extracted. We generally recommend 3-4 minutes for most teas, but encourage you to experiment to find your ideal brewing time.
Read more